Feedback
Deploy cluster directly
In this tutorial, we will provide a step-by-step guide to deploying a cluster from scratch. It is assumed you have completed the signup process. If you’re a first-time user, a new organization will have been created for you as a part of the signup process. If not, you will need to create one manually to proceed.
The simplest way to deploy a cluster is to subscribe to CrateDB Cloud using your credit card. The payment processing and billing is powered by Stripe. It is also possible to use your AWS or Azure subscription as a payment.
Quick start.
Directly navigate to the CrateDB Cloud Console. https://console.cratedb.cloud/
Table of contents
Deploy cluster
After finishing the signup process, the next step will be to create a new database cluster.
Selecting the Deploy cluster button will invoke the cluster deployment screen. Here, you can configure the name and region, compute-, and storage-parameters, and the number of nodes to be deployed.
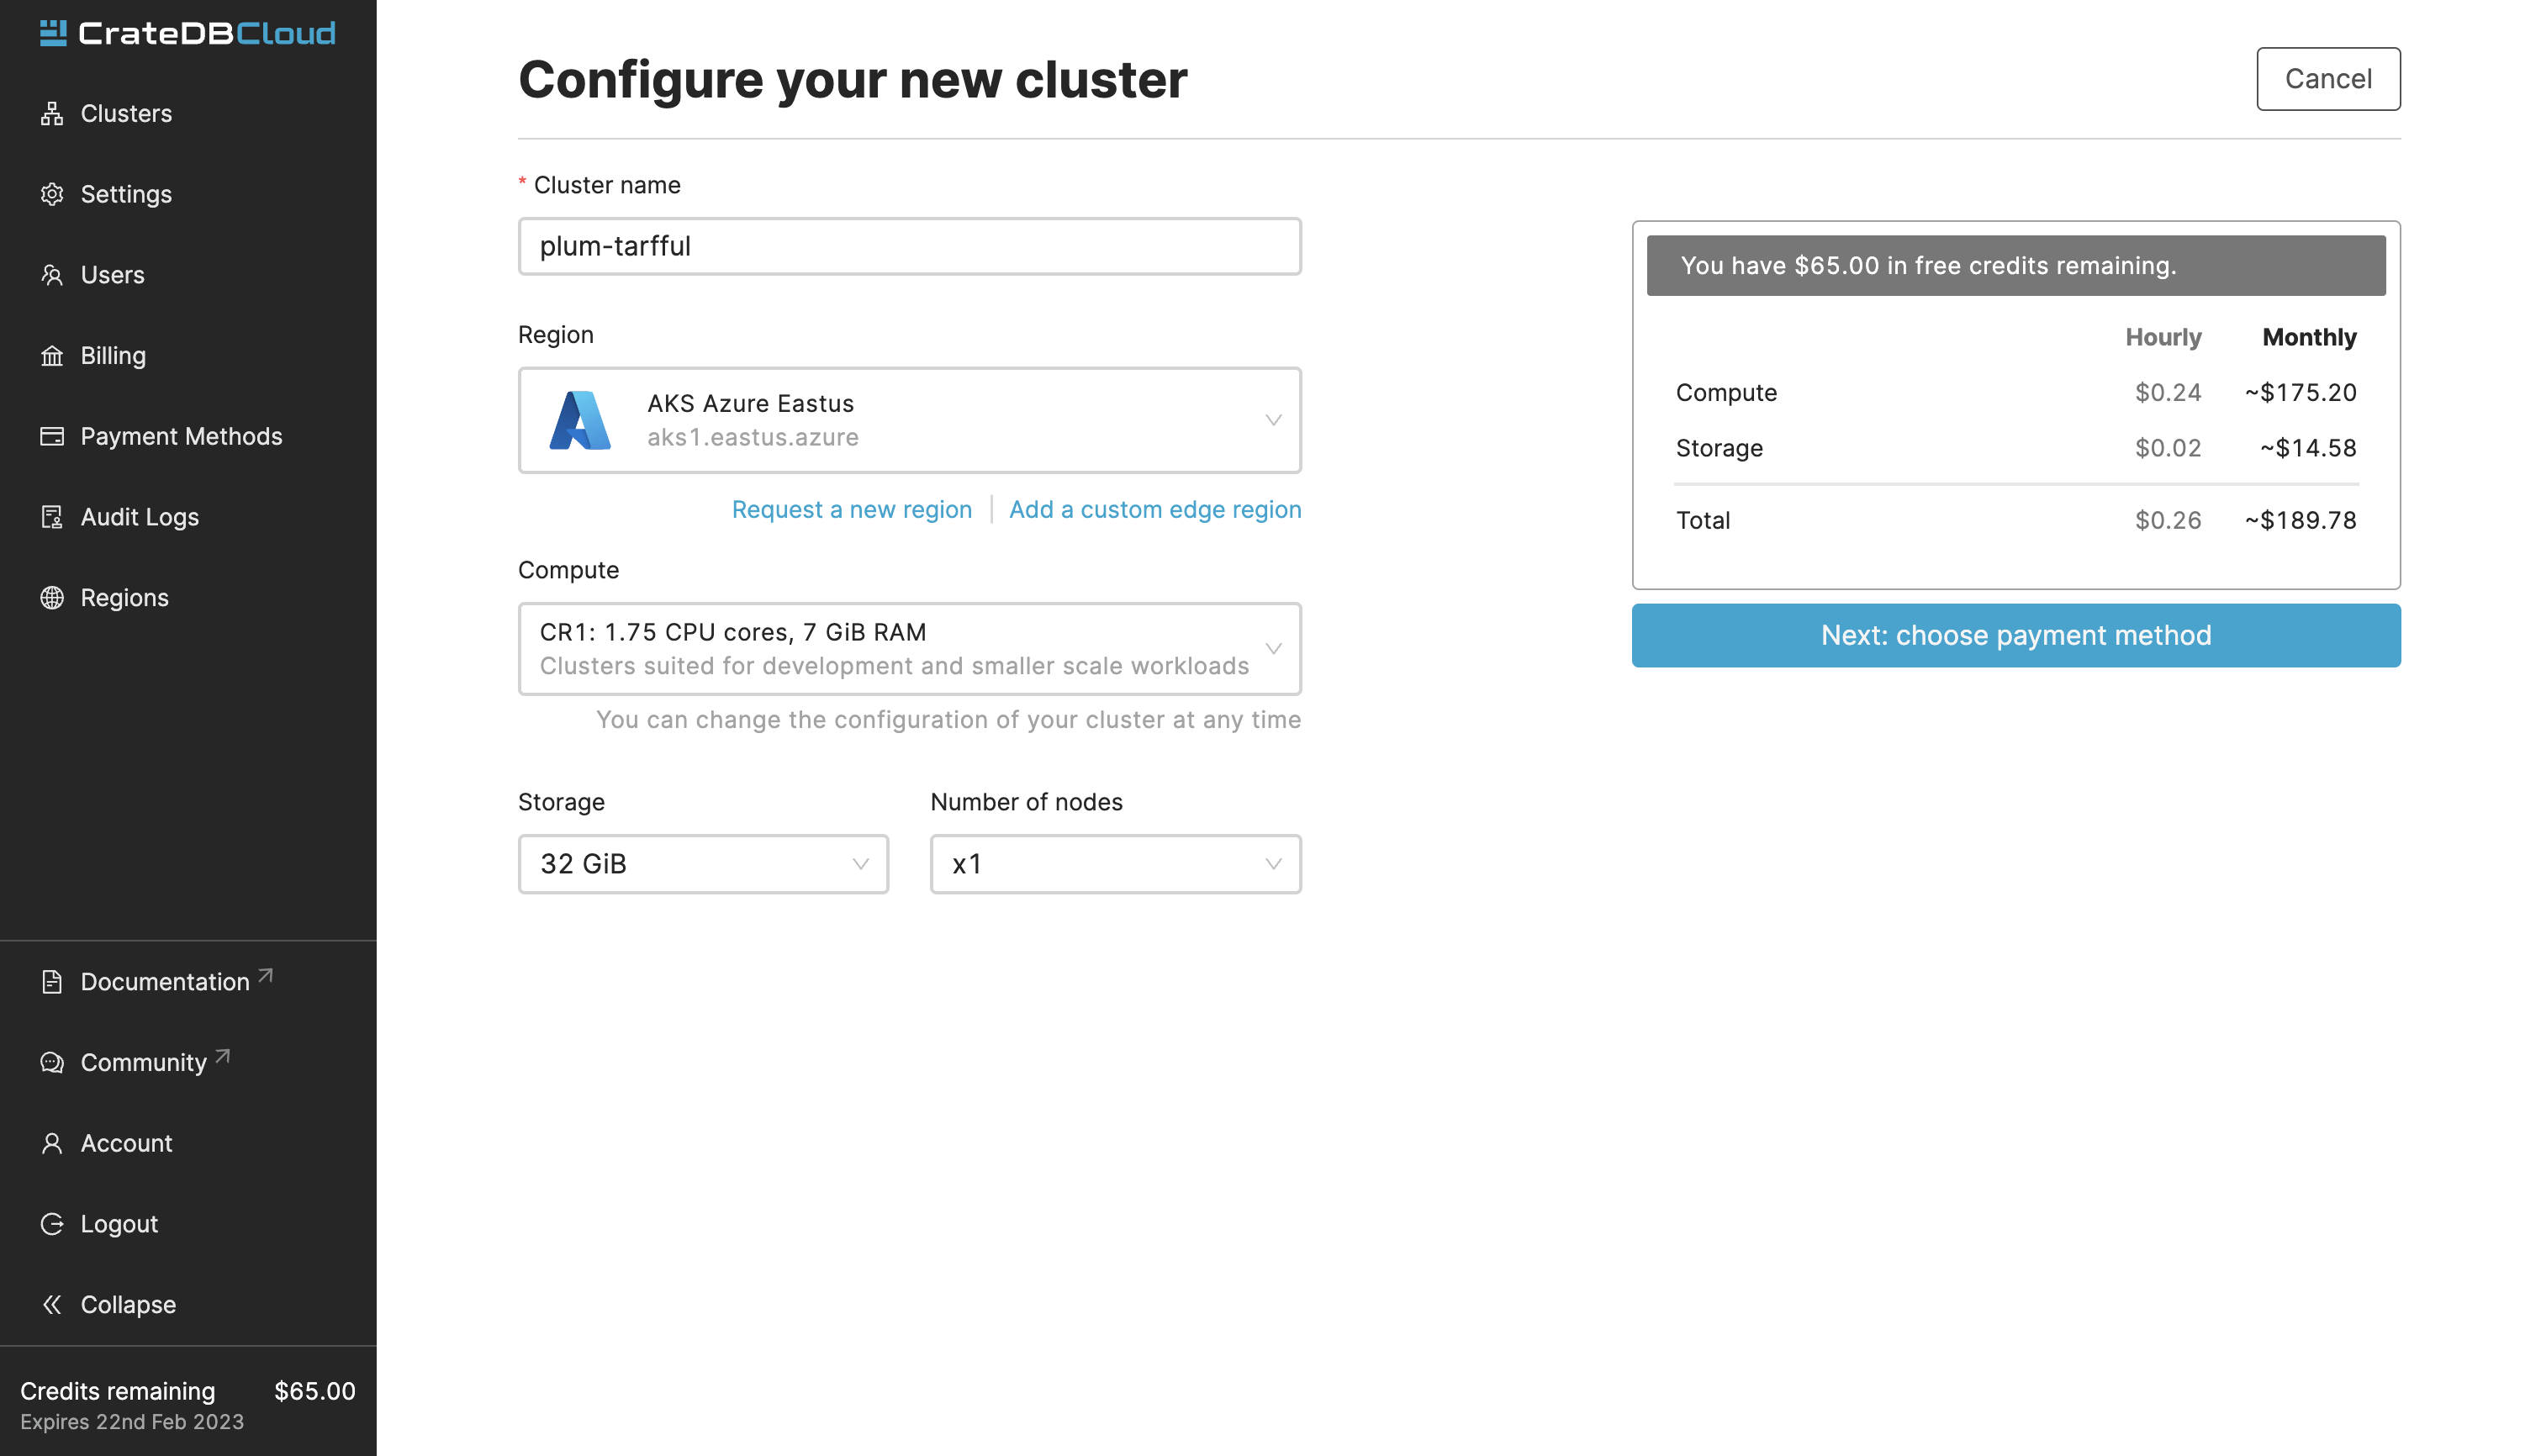
Region
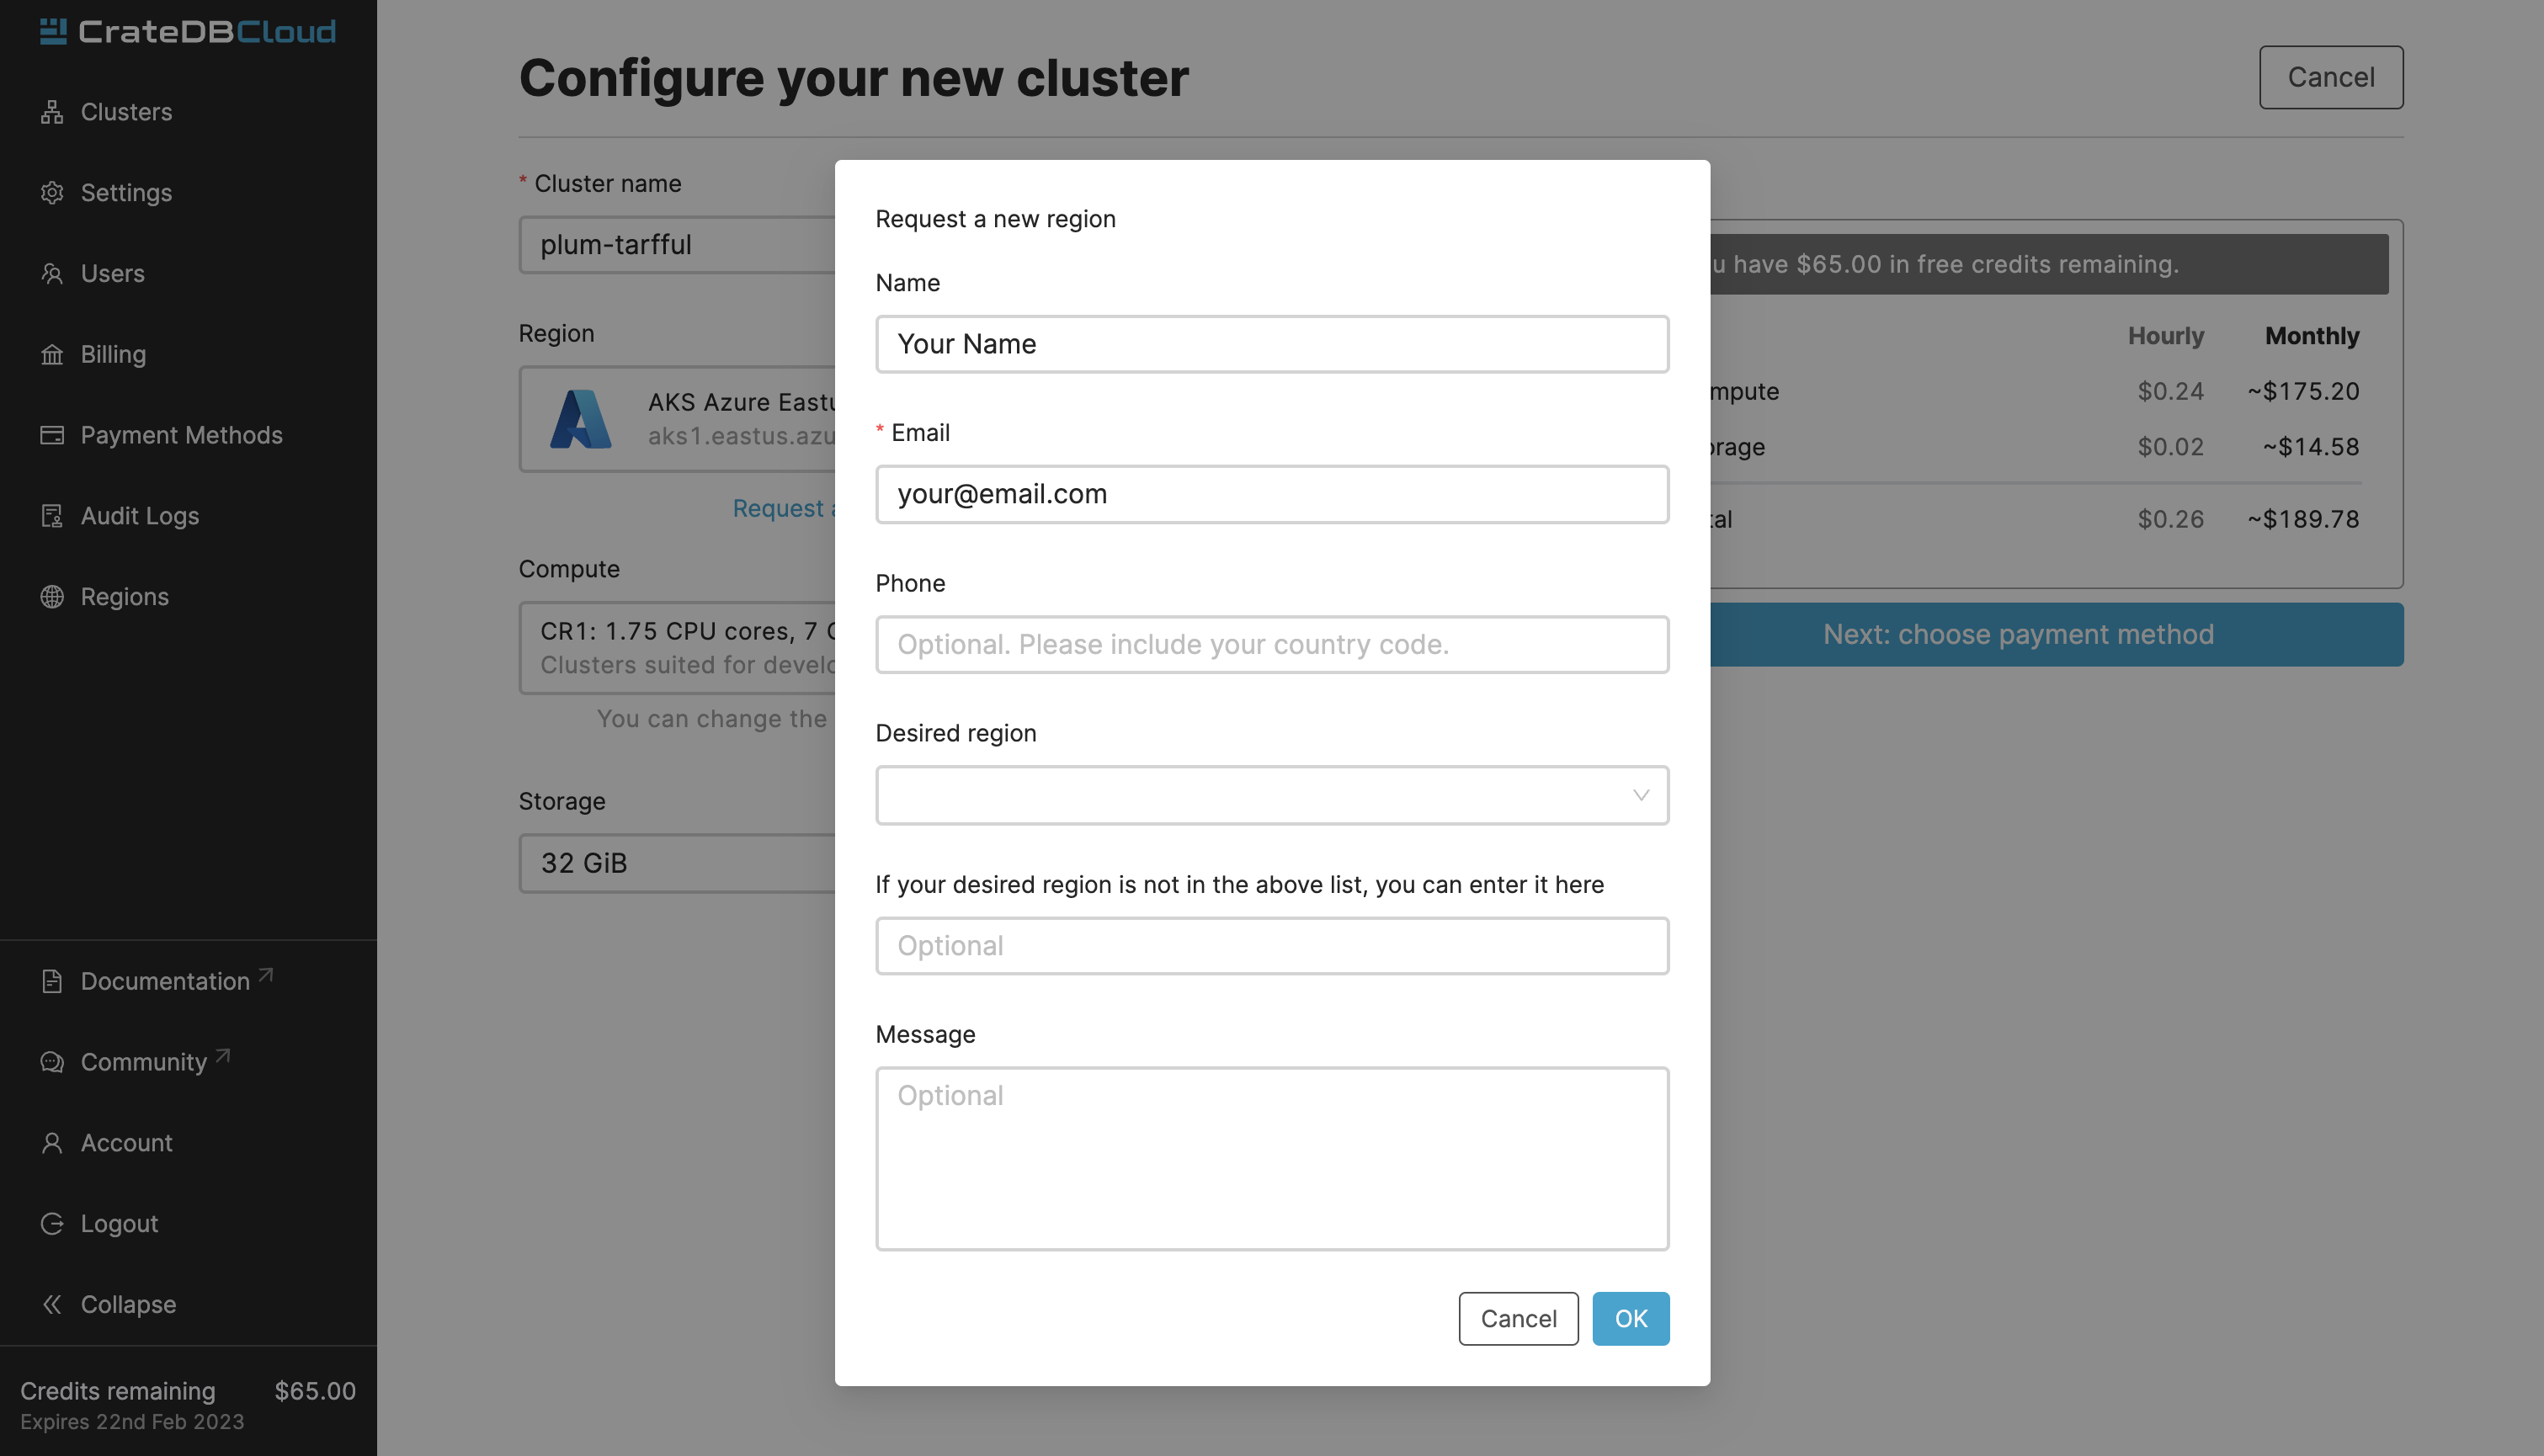
First, after naming your cluster, select a region where your cluster should be deployed. Currently, we offer AWS and Azure regions. If there is a region that you would like to see but we don’t currently offer, you can let us know by selecting the “Request new region” button and filling out the form.
If you are deploying an Cloud on Kubernetes cluster, you can choose your custom region by selecting the “Add a custom edge region” link.
Compute
In the Compute section, you can choose a subscription plan that suits your needs and use case. Plans consist of a per-node CPU and RAM allocation.
Storage
For the CR1-4 plans, you can choose how much storage space you need for your cluster.
Note
The storage capacity of a cluster cannot currently be lowered in the CrateDB Cloud Console once it has been deployed.
Number of nodes
The number of nodes represents the horizontal scaling of your CrateDB Cloud cluster.
To sum up: the configuration of the cluster consists of the hardware per-node values (CPU, RAM, storage), and the number of nodes in the cluster. The hardware values are determined by choice of subscription plan. Each of these choices will affect the price of the cluster. You can always find the total price per hour and month on the right side of the deployment screen.
Provide billing information
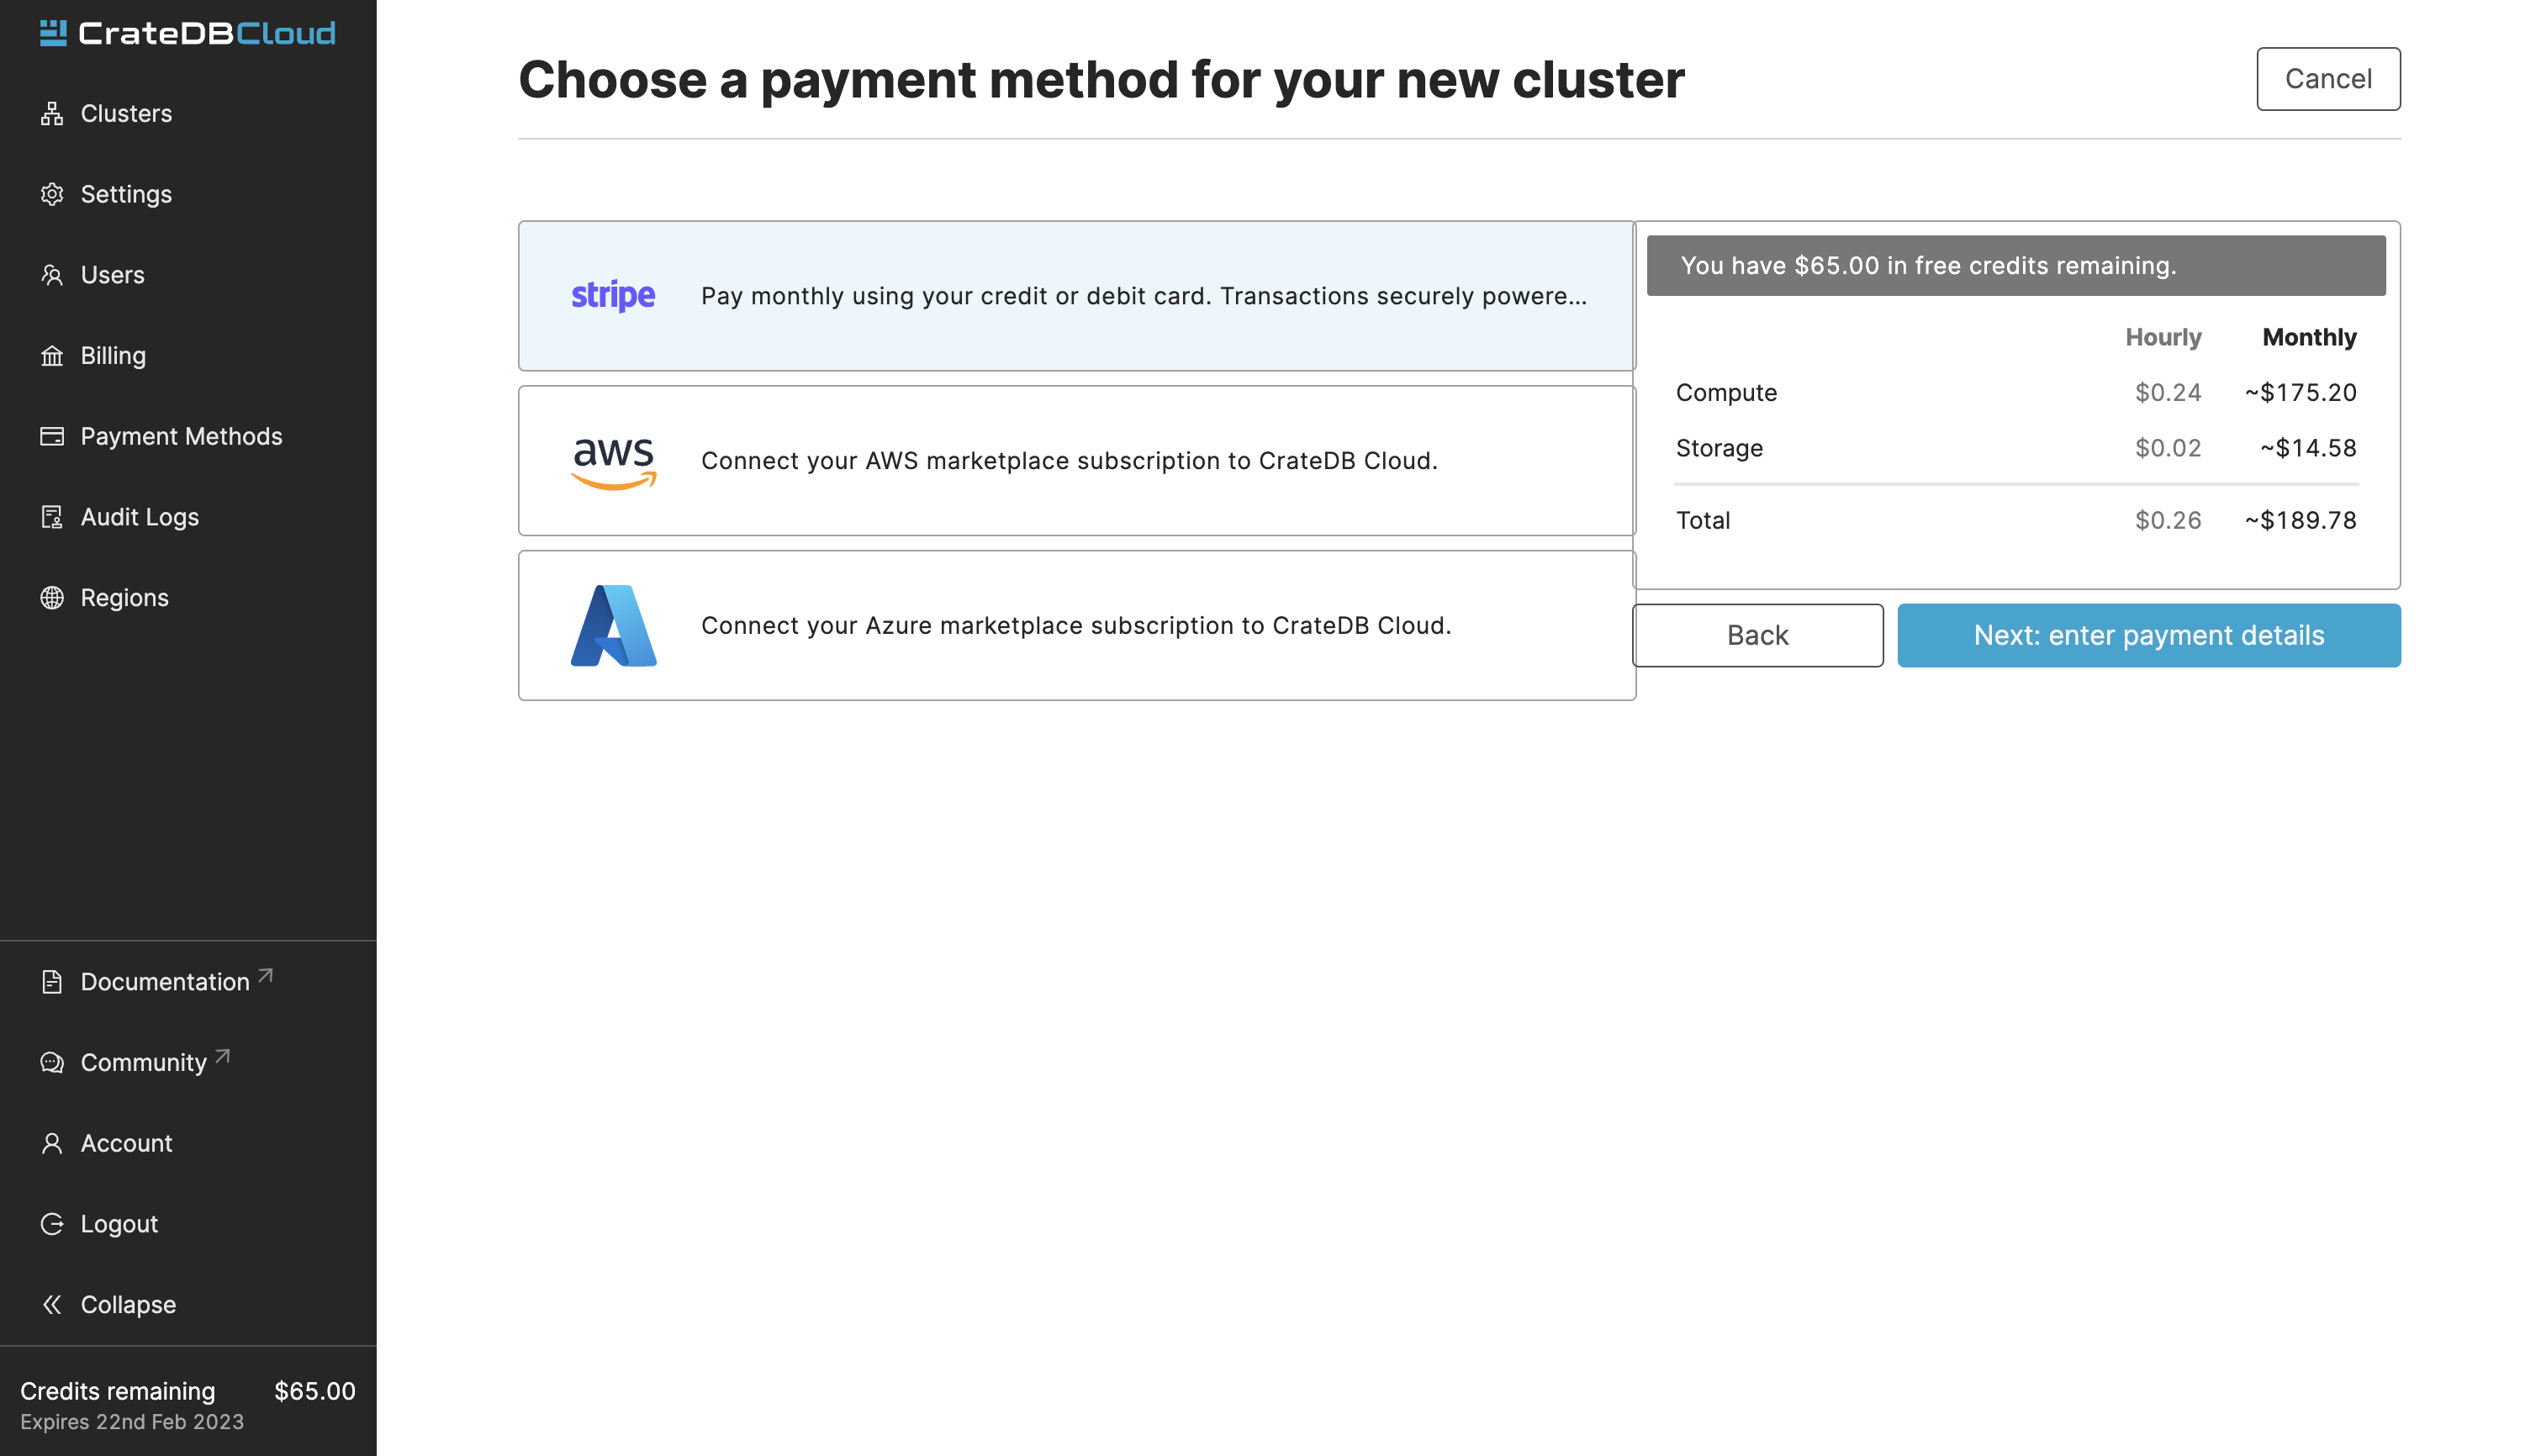
On the next screen, you will select the payment method. You can choose credit card payment, or use an existing AWS or Azure subscription.
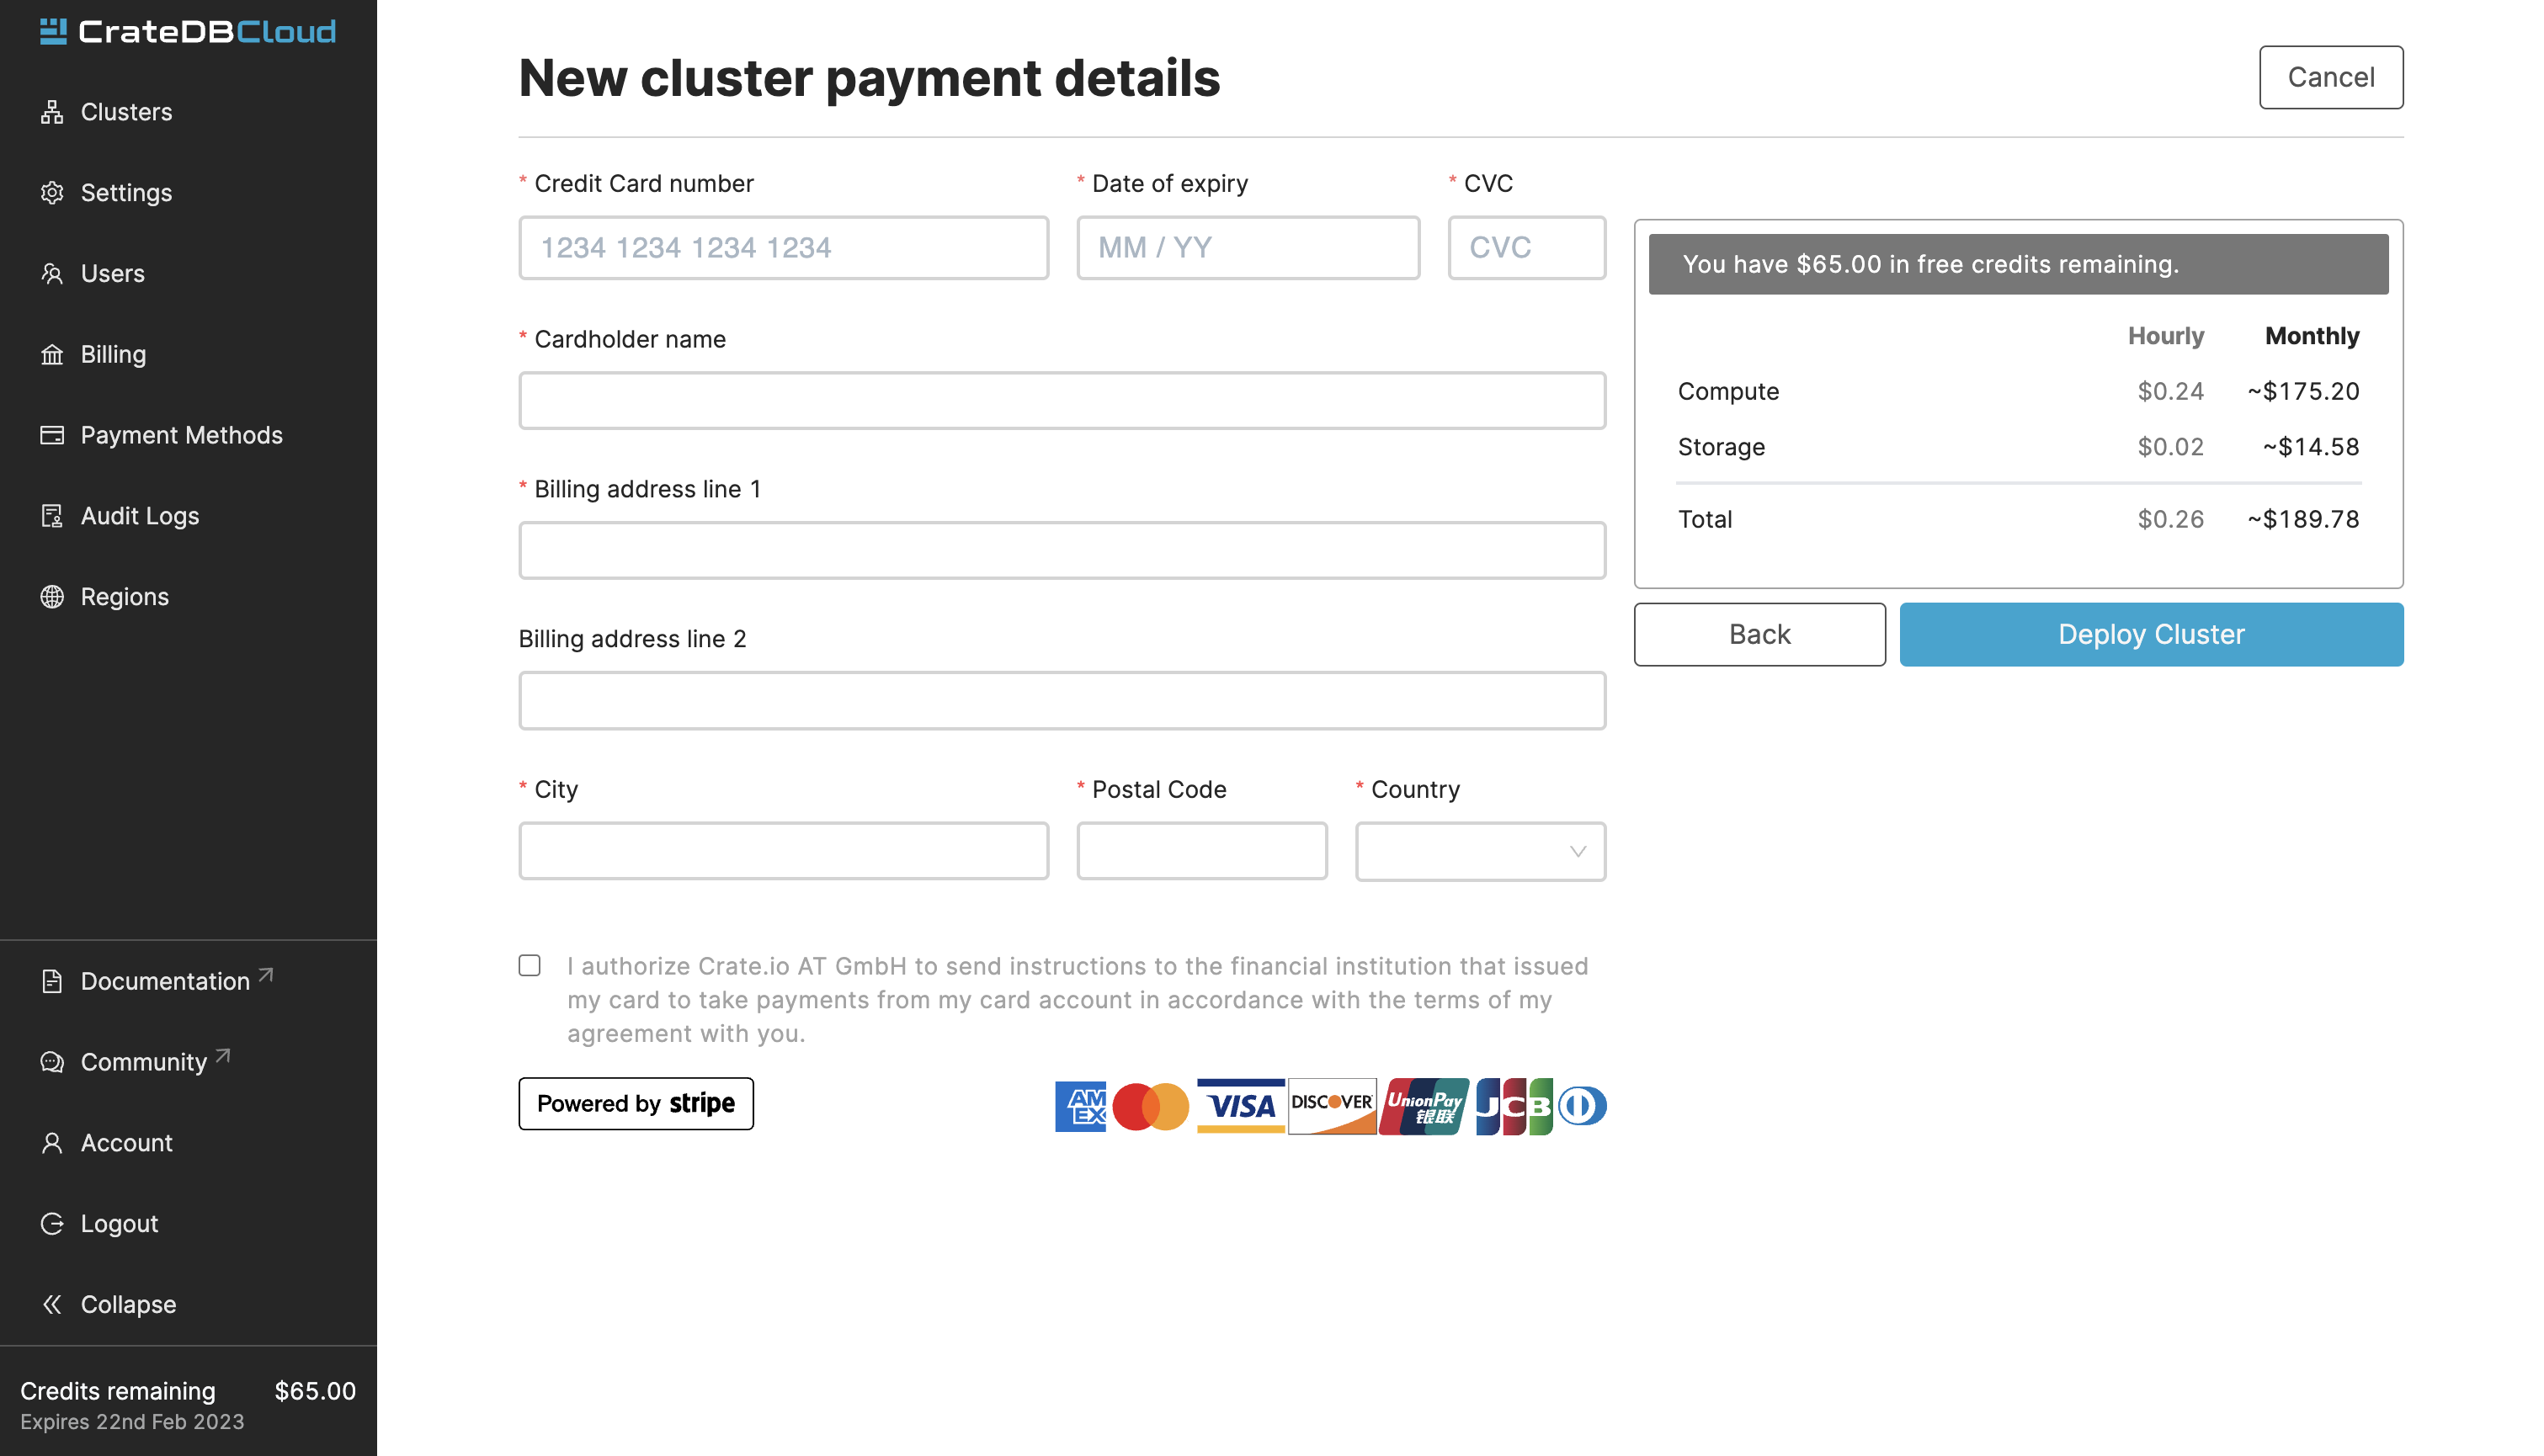
Credit card
You can find the credit card types accepted by Crate.io at the bottom right part of the screen. When you have filled out the necessary information, select Deploy Cluster below it to deploy your cluster. Do not forget to accept the financial authorization by ticking the box at the bottom.
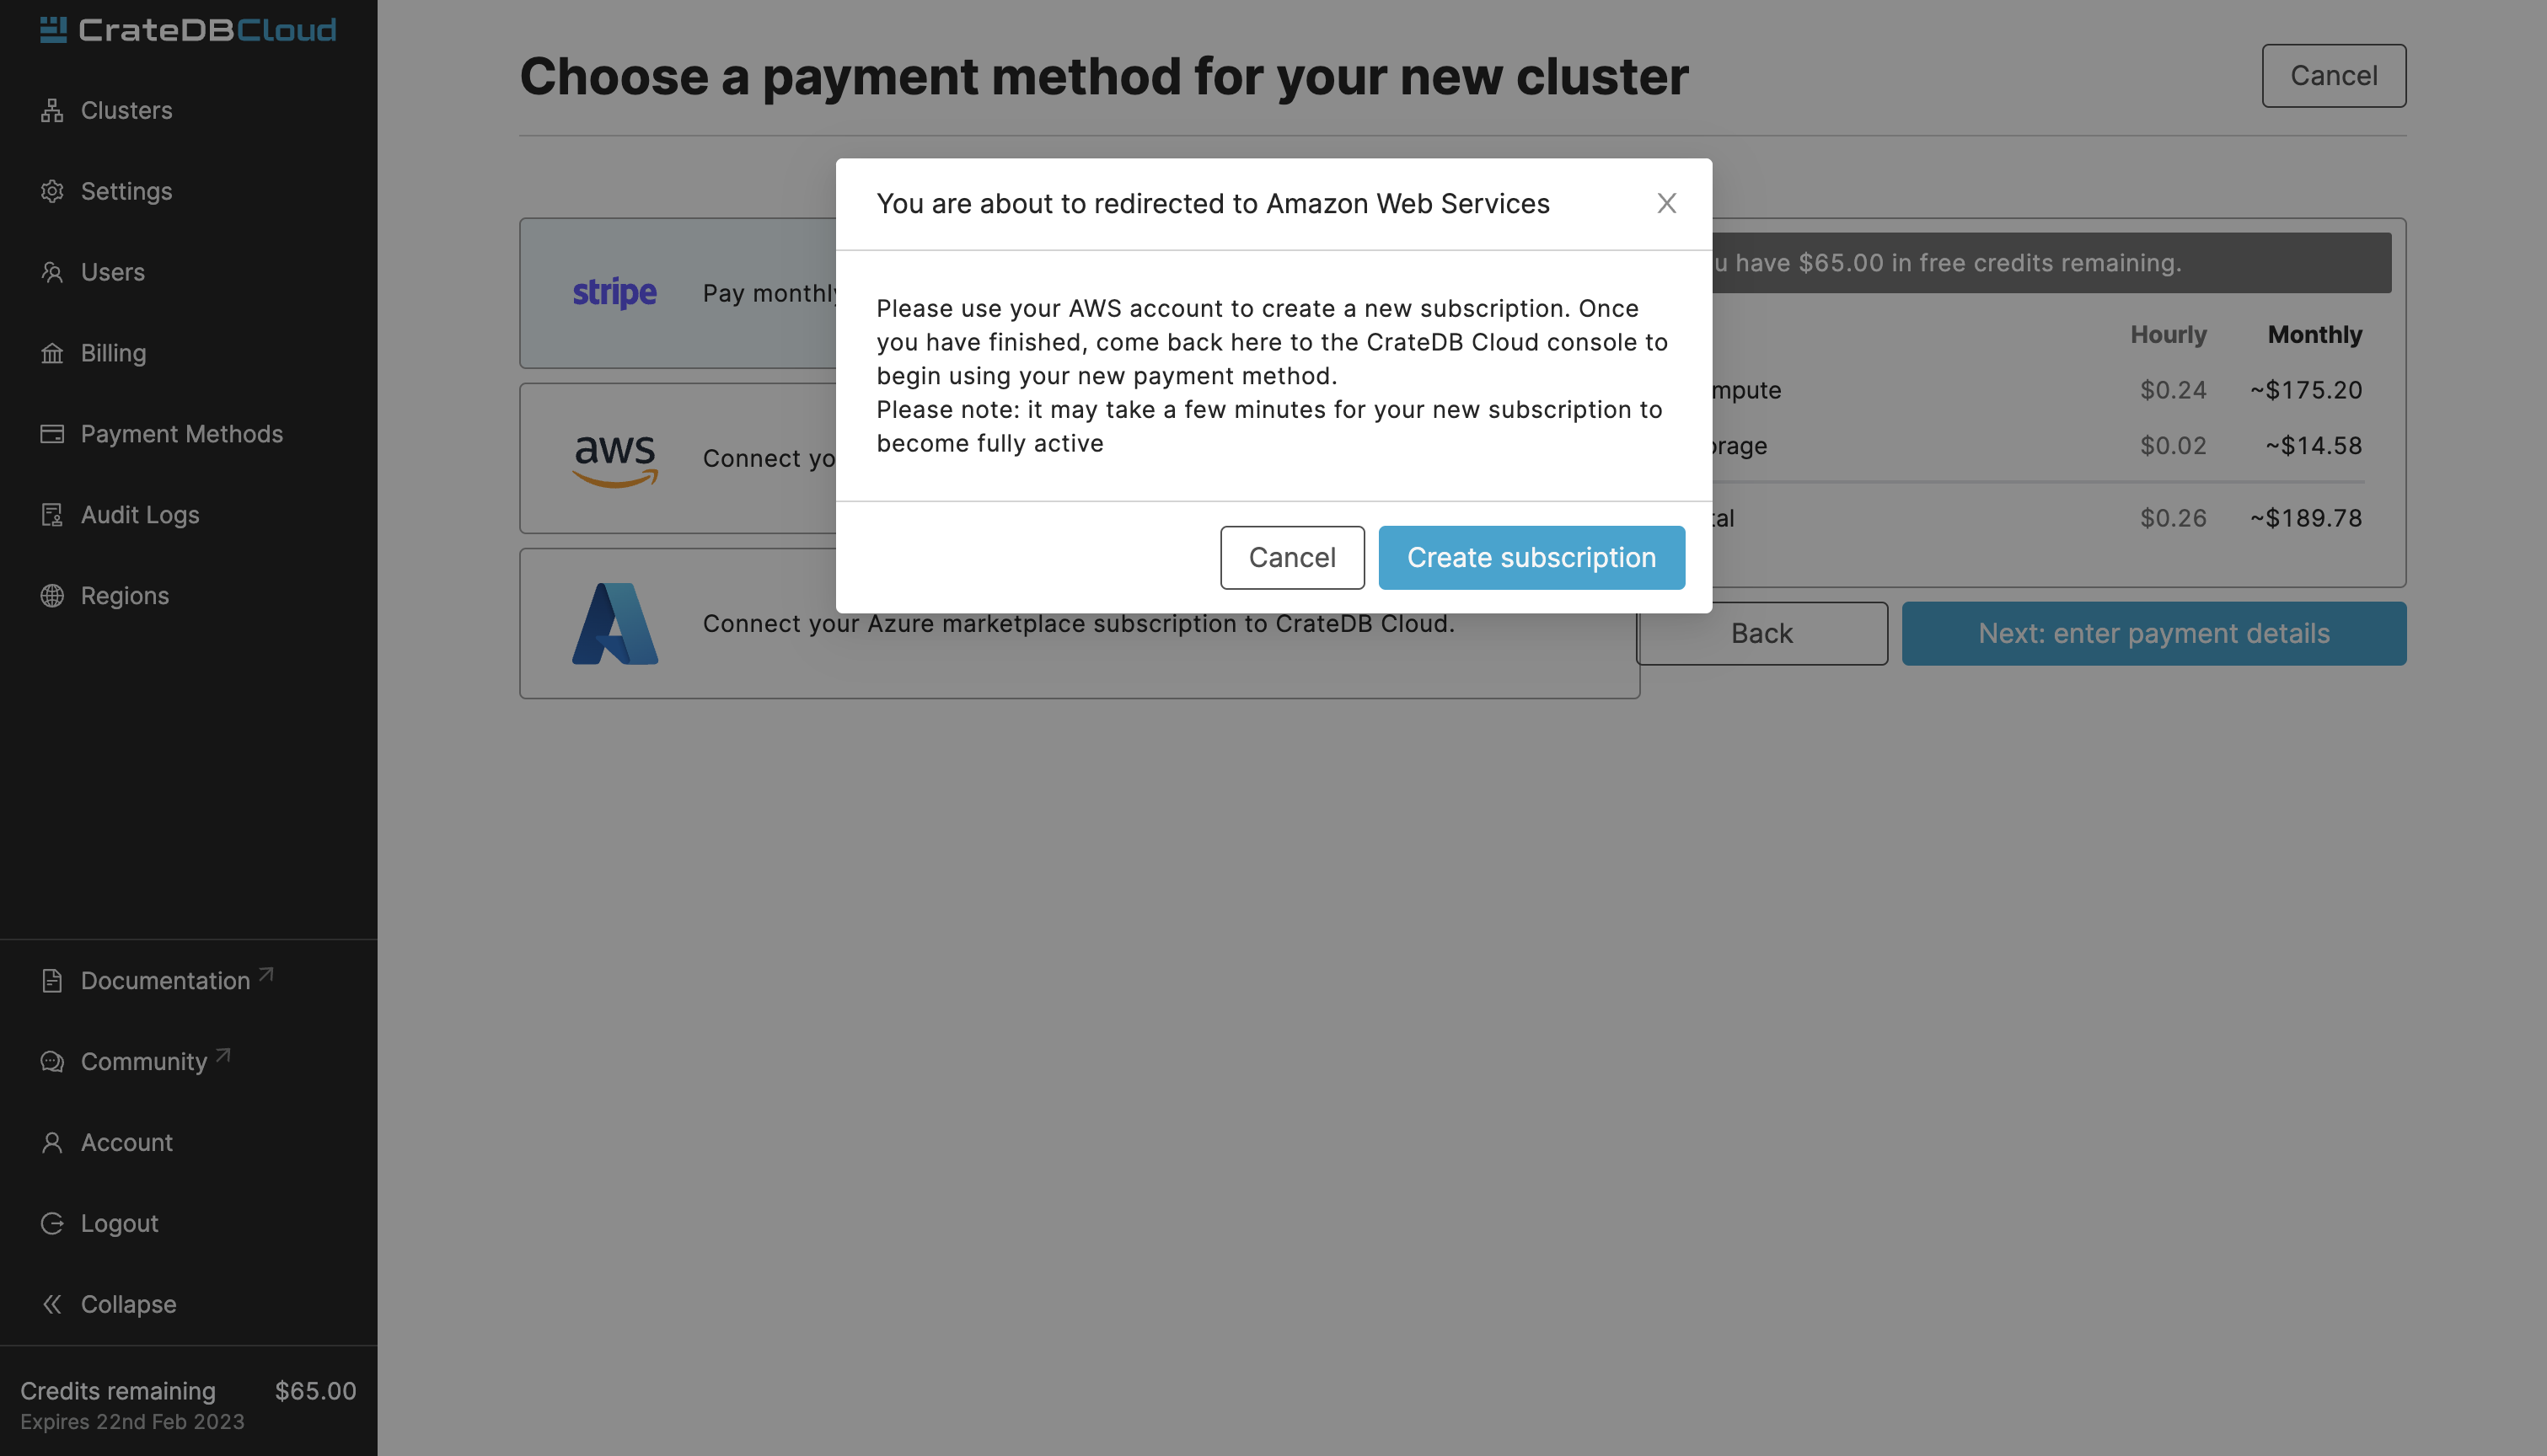
AWS/Azure
The other payment option is to use an AWS or Azure marketplace subscription. Simply choose the one you’d like to use, and you will see a prompt that will forward you to the respective marketplace page where you can confirm the subscription.
The payment and billing information you have submitted will be saved in the Billing and Payment method pages, visible in the menu on the left side of the console.
Your current accumulated bill is shown in the billing meter in the bottom left of the CrateDB Cloud Console screen.