In this blogpost we will dive into a powerful combination of Astro and CrateDB Cloud and walk you through a speedy basic setup so you can run an ELT/ETL pipeline today, all up in the cloud, for free.
ETL and ELT processes are the bread and butter of data engineering: everyone has data sources and wants to gather that data in a neat and tidy SQL database like CrateDB.
With Apache Airflow, you can orchestrate ETL/ELT processes end-to-end, fully integrated in your wider data ecosystem. And now, thanks to the Astro free trial, you can step up your game and get your pipelines up in the cloud, paired with a CrateDB managed instance which keeps you working purely in the clouds forever.
CrateDB: Distributed database for real-time analytics
CrateDB OSS is an open-source distributed SQL database designed for handling large-scale data workloads. It offers seamless scalability, fault tolerance, and real-time querying capabilities, making it a powerful solution for data-intensive applications.
CrateDB Cloud is a fully managed database as a service (DBaaS) platform that brings the power of CrateDB to the cloud. It offers a seamless and hassle-free experience, allowing you to focus on your applications rather than managing infrastructure. With CrateDB Cloud, you can easily monitor, deploy and scale your database, upgrade effortlessly without downtime, and enjoy robust security and reliable performance.
These features make CrateDB the perfect choice both to get started with your ETL/ELT pipelines orchestrated by Airflow, and also to leverage “almost-infinite” scalability when processing large amounts of data.
How to implement a simple ETL pipeline on Astro and CrateDB Cloud
This blogpost shows you how to implement a simple ETL pipeline on Astro to:
- Dynamically ingest CSV files stored in a public GitHub repository
- Dynamically run transformations on that data
- Dynamically load the transformed data into a table in CrateDB Cloud
- Run a data quality check on your table
- Run a query on the table and get the results
- Fetch the query results from another task and print them to the logs
We will present this pipeline using data on possums, but of course you can easily adapt it to your use case. Just tweak the SQL queries and define your upstream data sources and you can have your organization’s data flowing through the same pipeline.
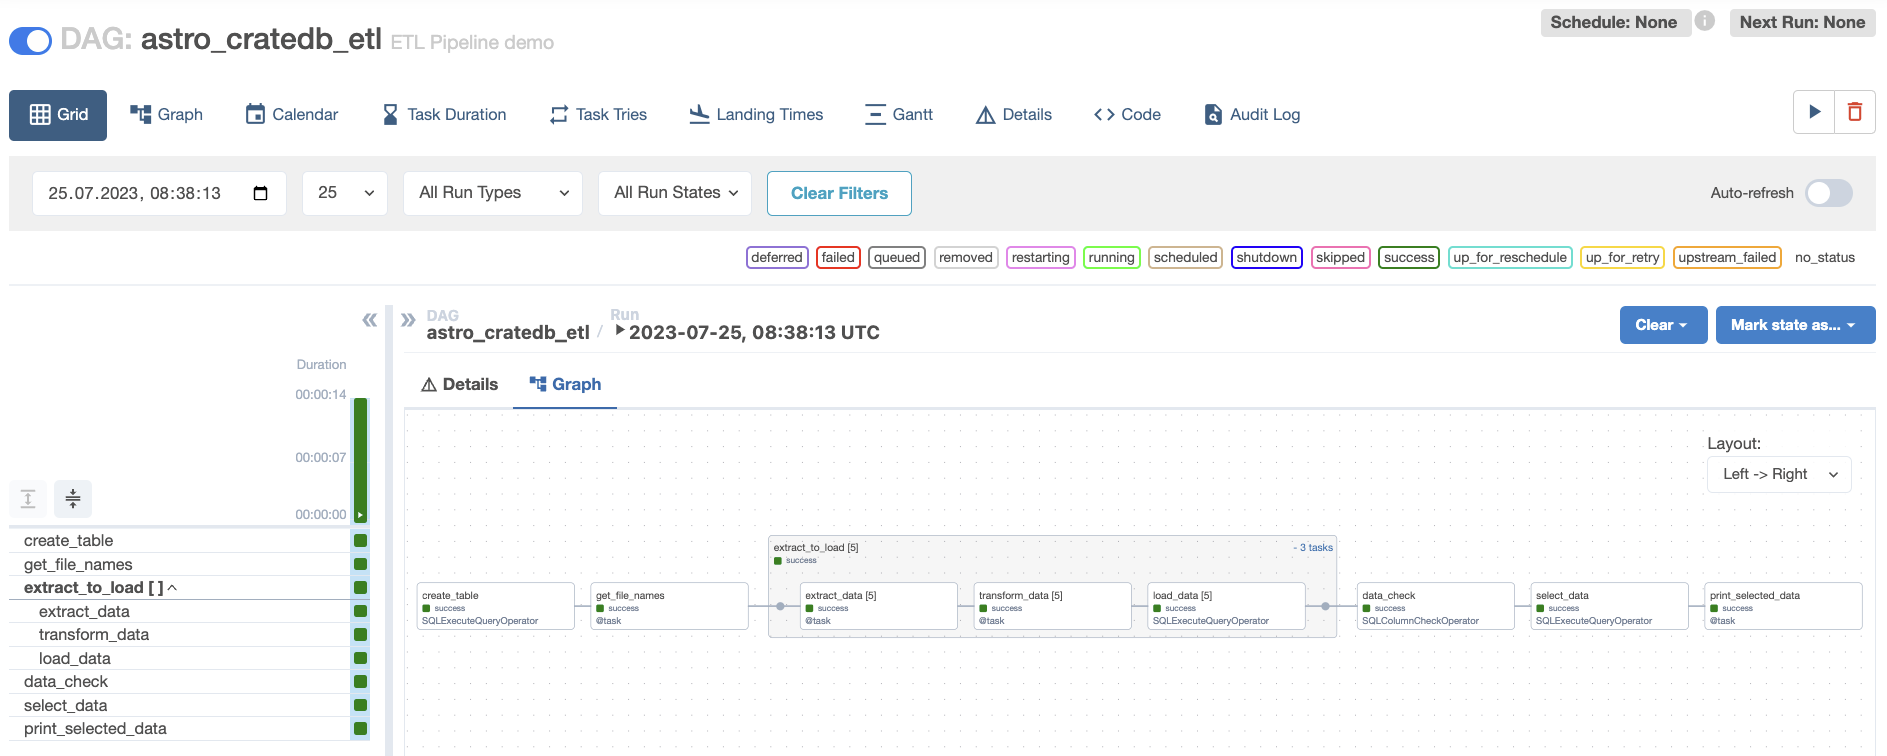
Figure 1: Grid view of the ETL DAG in Airflow after it ran successfully.
This DAG uses cutting edge Airflow and CrateDB features to optimize your pipeline.
Data loading is performed using dynamic mapping over a task group (implemented in Airflow 2.5), creating a separate set of mapped tasks for each CSV file that is being extracted, transformed and loaded into CrateDB, giving you full observability, parallelism, concurrency control and allowing you to efficiently leverage Astro’s automated scaling.
Additionally, this pipeline incorporates a core principle of best practice data engineering: your result is only as good as the quality of your data, so make sure to check it! Before the final query runs, we are making sure the data does not contain errors using an operator of the SQL check operators family.
1. Get started with a free trial Astro account
It only takes 5 minutes, and you’ll get $300 in credits for free!
- Go to the Try Astro sign-up page and click on Get started.
- Sign up using either your email address, google or GitHub account.
- You will receive an email from Astro. In it click on Verify your email and a page will open up. After logging in using your method you will get a verification code, enter the code to dive into the world of Astro!
- You will be prompted to create an organization and a workspace. Choose any name you’d like!
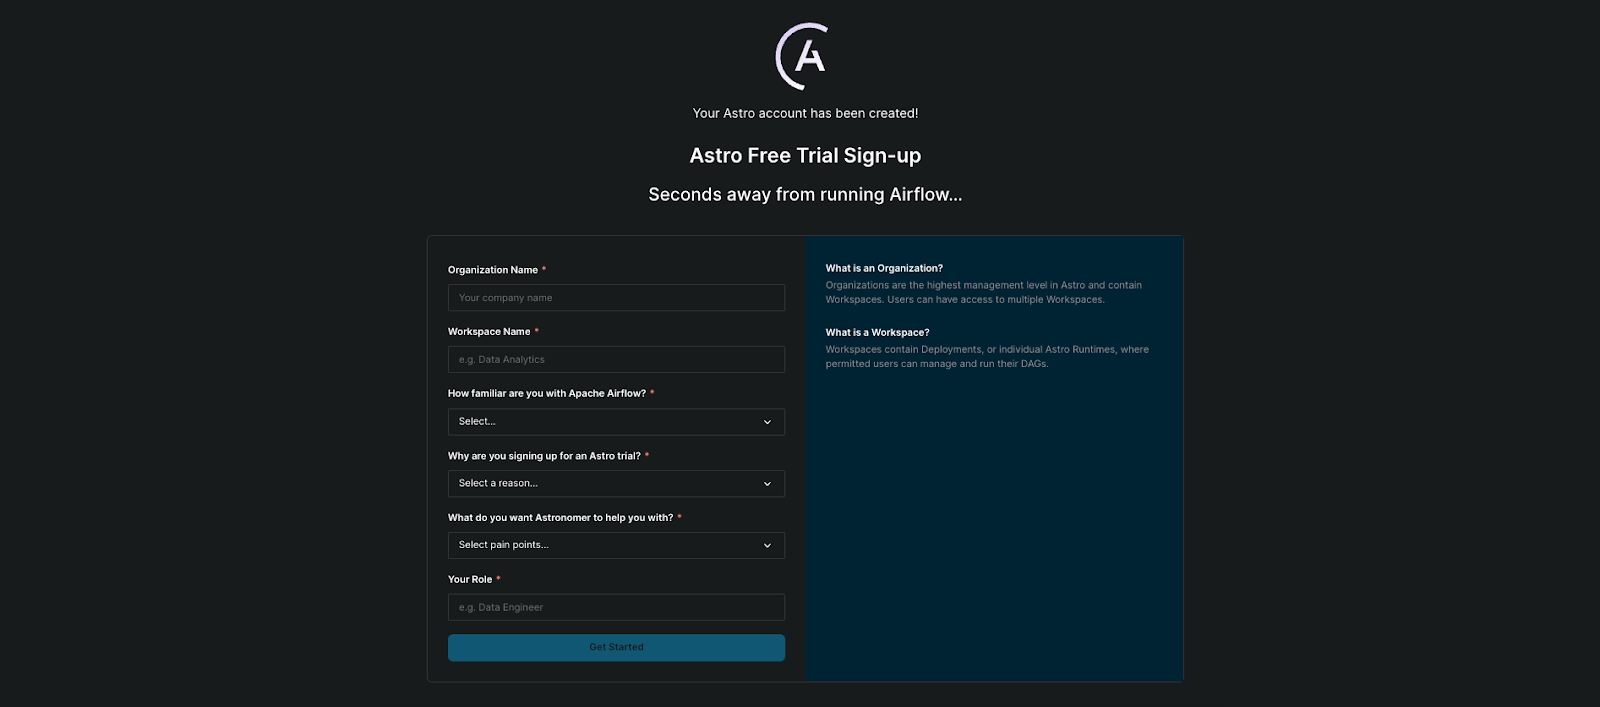
Figure 2: Creating an Astro organization and workspace.
5. Create a deployment by clicking on the Create Deployment button.
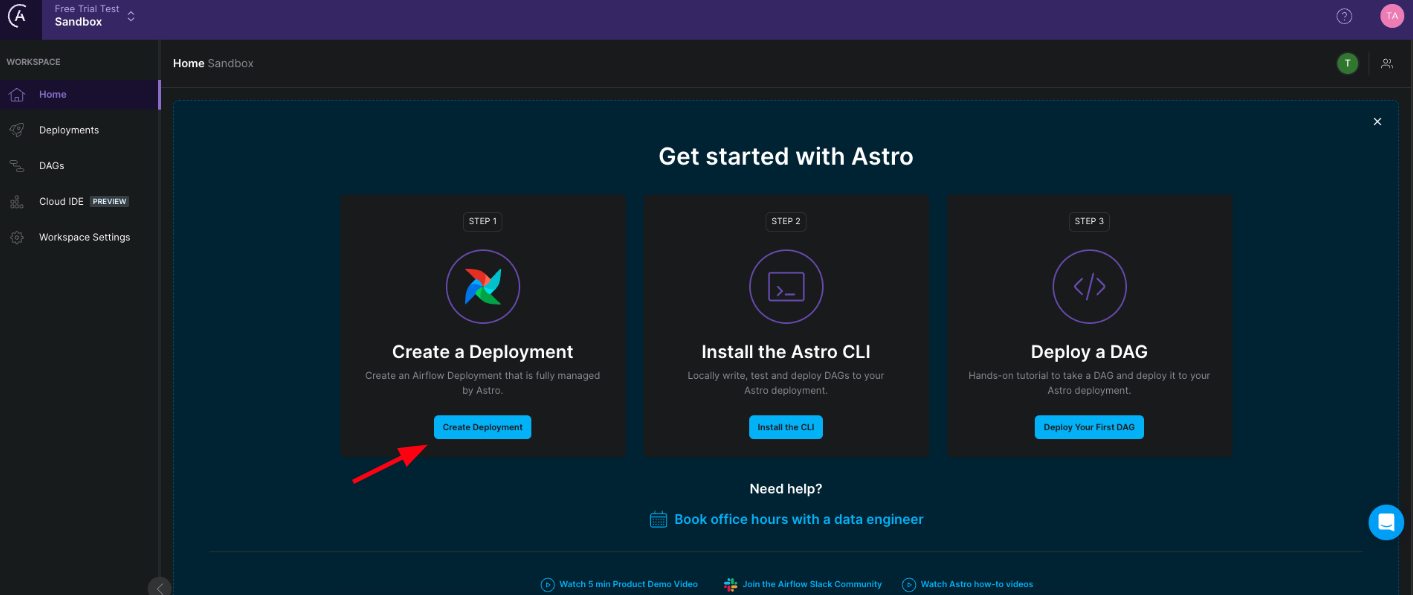
Figure 3: Click here to create an Astro deployment.
6. Choose a name for your deployment as well as a cloud provider and region. You do not need to have an account for the cloud provider you choose and can leave the rest of the settings at their defaults! Click on Create deployment to start the deployment creation process.
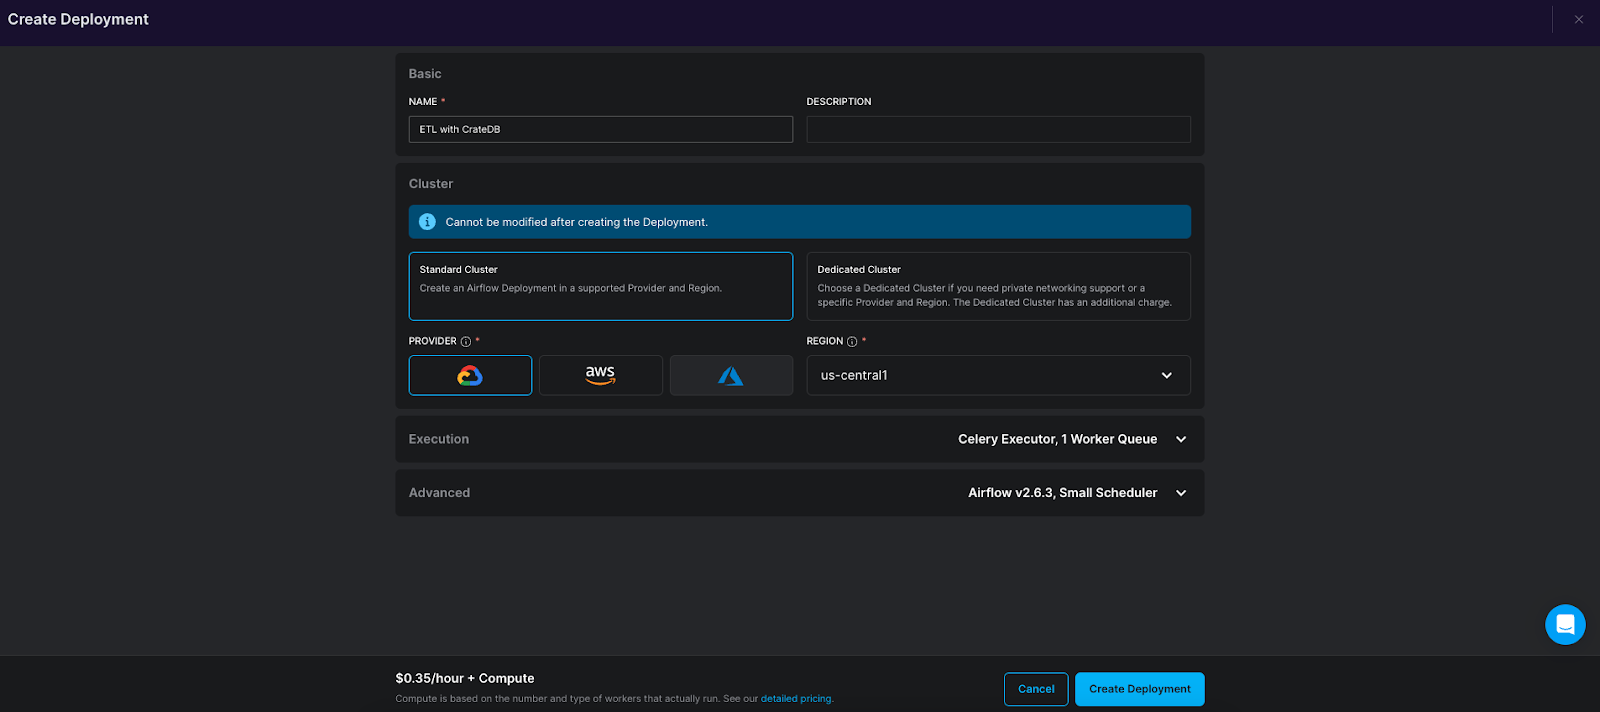
Figure 4: Creating an Astro deployment.
Now you are all set with an Airflow deployment in the cloud. While the deployment is being created (this takes a couple of minutes), let’s hop over to CrateDB and get your CrateDB Cloud account.
2. Deploy free cluster on CrateDB Cloud
In CrateDB Cloud you have the option to deploy a FREE Tier Cluster without adding any payment information, which is ideal for the first evaluation steps. It only takes a few minutes to get started:
- Sign up for a CrateDB Cloud account using your GitHub, Google, Microsoft, or custom credentials.
- If you choose custom credentials and you don’t have an account you will need first to register your login details.
- After the sign-up process is complete, you can create a new organization with the name of your choice.
- Once the organization is created, you are ready to deploy your first cluster, so hit the Deploy Cluster button.
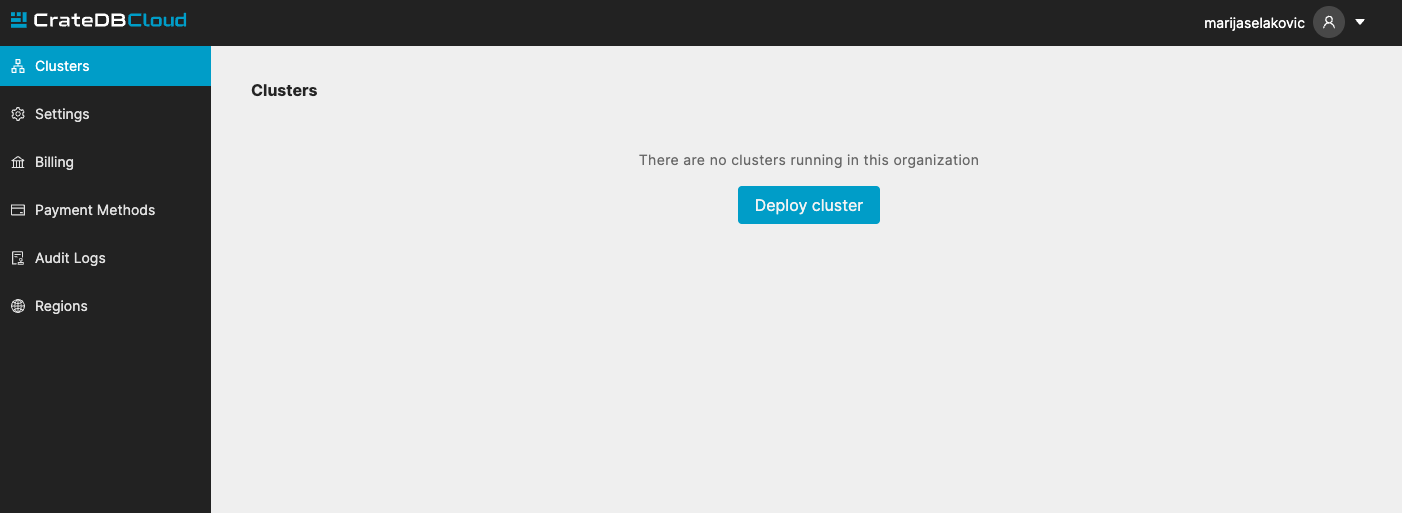
Figure 5: Click Deploy cluster to deploy your first CrateDB Cloud cluster.
5. The cluster deployment setting consists of three steps: cluster name, region selection, and cluster configuration. For our example, we choose the following setup: a. Cluster name: cratedb-demo b. Region: Azure East US 2 region c. Compute: CRFREE is a free tier single node cluster. If you want to try out other cluster configurations you can use the free credit available on CrateDB Cloud. The free tier single node cluster comes with 2 CPUs, 2 GiB of memory, and 8 GiB of storage.
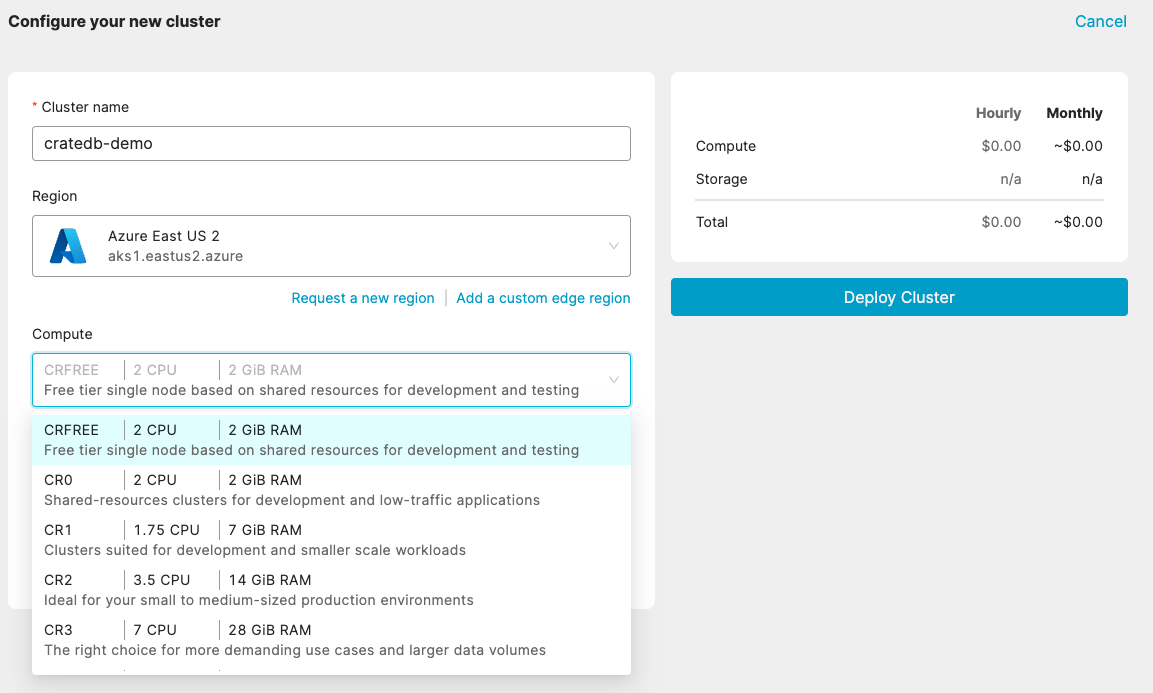
Figure 6: Setting up the configuration of the CrateDB cluster.
6. After the configuration is set up, hit the Deploy Cluster button and your cluster will be deployed shortly on. The first page on the CrateDB Cloud console shows the main information about your cluster and different ways how to connect to it from different tools and languages.

Figure 7: Overview of the CrateDB cluster and connection details.
To start creating tables and running queries, click on Open Admin UI. This opens a web administration user interface (or Admin UI) for your running cluster.
3. Set up your Astro project
With both clouds ready to run, let’s set up the Astro project containing all the code necessary for our pipeline.
Instead of following the steps below you can also clone the full project from GitHub. In that case you can skip to Step 4.4 to create your own environment variable to connect to CrateDB Cloud.
First, if you have not already done so, install the Astro CLI locally. While you will need Docker if you want to use the full Astro CLI capabilities to develop Airflow DAGs locally, you do not need Docker in order to run your pipeline in the cloud!
To set up locally follow these steps:
2. In the requirements.txt file add the Common SQL provider which contains the operators we will use in the Airflow DAG
3. Create a sql folder in your include folder and add the SQL statements found in this folder in the example repository. These statements will be used by the DAG to run transformation, load and query steps directly in the CrateDB Cloud.
4. The final piece of the puzzle is of course the DAG code! Navigate to your project root directory in the command line run the following command. Your DAG will be delivered directly from the registry into your dags folder.
This DAG shows several cutting-edge Airflow features!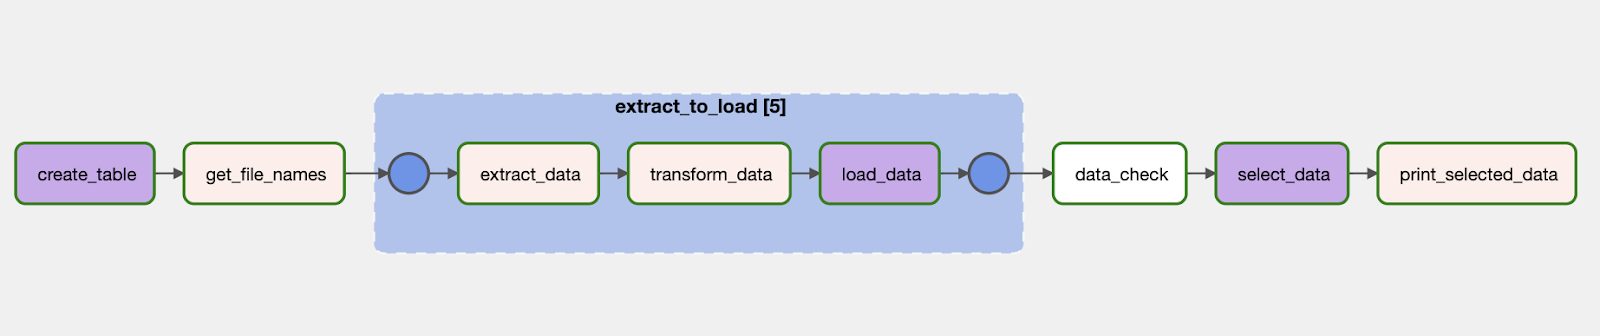
Figure 8: The DAG code in the graph view, showing 5 mapped task groups.
.png)
Both the extract_data and transform_data tasks are defined using the TaskFlow API decorator @task, reducing the code needed to turn a Python function into an Airflow task to 5 characters. Also note how the extract_data task returns a pandas DataFrame which the transform_data task takes in as an argument. This is now possible without any additional setup, thanks to built-in XCom serialization for pandas DataFrames in Airflow 2.6+.
In real life use cases, you often do not know the number of input elements you will get at any DAG run. This is where dynamic mapping comes into play!
This example DAG dynamically maps a whole task group over the list of file names retrieved from an upstream task, creating one set of sequential extract_data, transform_data and load_data tasks for each file, running in parallel, inserting data at lightning speed
Before we query our data, the data_check task makes sure it is up to our quality standards. The SQLColumnCheckOperator runs one data quality check, making sure there are no negative values for age. Additional checks can easily be added to the Python dictionary.
Next, select_data runs a query returning average tail lengths for different possum populations grouped by sex and population. The columnar storage in CrateDB enables very fast column-level operations like aggregations, grouping and sorting.
Lastly, the print_selected_data task will pull the query results from XCom, Airflows’ internal storage for metadata and print it to the logs.
Now you know exactly what your code will do. Let’s finally run it!
4. Get your DAG running in the clouds
Now, with all the files ready, you can deploy them directly to Astro.
1. In the CLI run:
2. Login in the browser and click Accept to authenticate your device to Astro.
3. Run the following command to deploy your code to Astro:
Note that if you are only making changes within the dags folder there is the option to only deploy DAG code. Learn more in Astronomer’s documentation. The Astro CLI also makes it super easy to run your DAGs in a local environment. Just make sure you have Docker Desktop installed, add the environment variable from Step 5 in your .env file and run astro dev start to spin up the local environment.
4. To set the connection to CrateDB Cloud you can add an environment variable directly in the Astro Cloud, leveraging CrateDB’s ability to use the PostgreSQL wire protocol. Add in your own values for username, secret and CrateDB Cloud URL and click the checkbox Secret? to mark your variable as containing a secret. Click Add and then Save Variables.
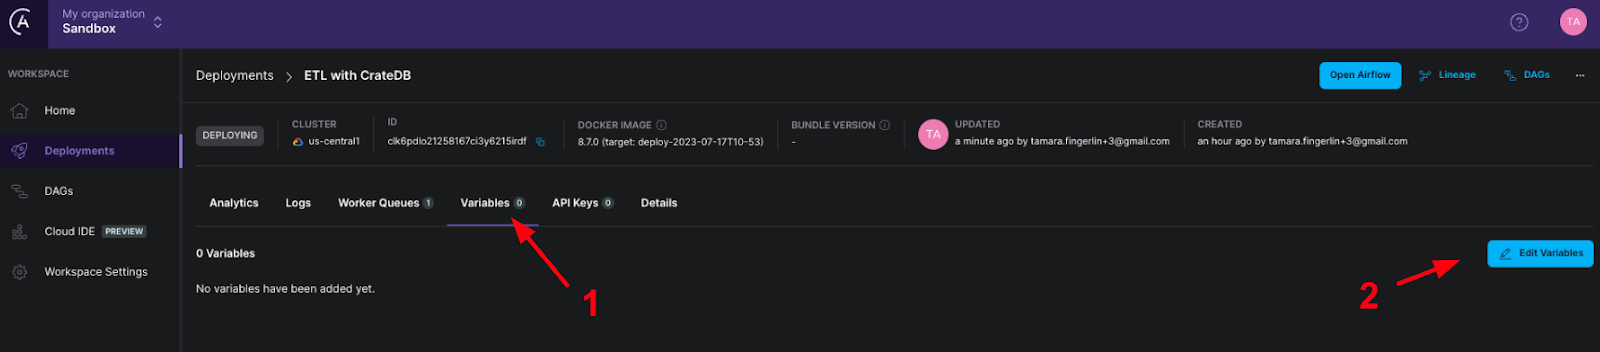
Figure 9: Adding an environment variable on Astro.
Now open up the Airflow UI of your Airflow deployment running in the cloud by clicking on Open Airflow. Click the Arrow to the right hand side of the astro_cratedb_elt_pipeline DAG and you will see it running!
Finally, after the DAG has completed, head to the Admin UI in CrateDB to check and further analyze your data:

Figure 10: Browsing possum data on CrateDB Admin UI.
Conclusion
You did it! You set up two cloud tools and ran a full ETL pipeline up in the sky in just 30min!This is just the start of your Astro and CrateDB journey. Learn more about our tools at:
- Astronomer Learn
- Astro documentation
- Astronomer Academy
- Astronomer webinars
- CrateDB documentation
- CrateDB Cloud tutorials
- CrateDB webinars
If you have any questions feel free to ask in the Airflow and CrateDB communities. In the Airflow Slack, you can ask questions related to all things Astro in #airflow-astronomer.


